Ryan and I finished a large painting project yesterday. It included two coats of Sherwin Williams ProMar 200 (no VOC) in a flat finish on the walls and Sherwin Williams Eminence ceiling paint on two ceilings. We did the ceilings in the master bedroom and foyer and the walls in the foyer, hallway, stairwell, bedroom, master bedroom and bath. We used 10 gallons of paint.
Steps:
1 - Sanded all walls with an electrical orbital sander;
2 - Washed all walls after sanding;
3 - Spackled all nail holes, nail pops, and other nicks on the walls;
4 - Lightly sanded all spackled areas;
5 - Taped all woodwork with green frogtape;
6 - Painted ceilings;
7 - Applied 1st coat and waited 4 hours;
8 - Applied 2nd coat;
9 - Touched up ceilings, baseboards, and other woodwork; and
10 -Vacuumed.
Challenges:
1 - The stairwell was steep so we had to bring in our levelers in order to reach ceiling;
2 - The walls hadn't been painted or repaired for six years so a lot of prep necessary;
3 - There was a lot of paint on the ceilings from previous painter so had to touch-up; and
4 - The ceilings did not have a very good cut line so taped the ceiling in order to get a straight line.
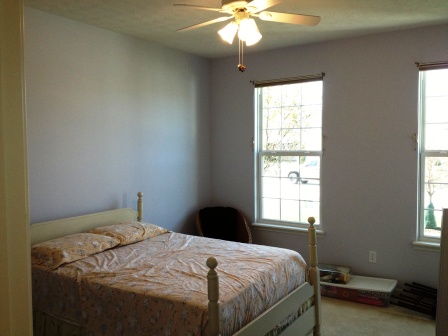
Photos:


.jpg)


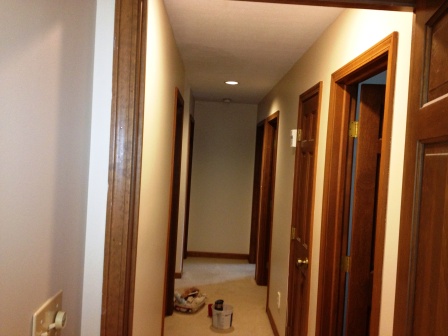

.jpg)


.jpg)


.jpg)
.jpg)


